
A Homemade Super Landing Gear
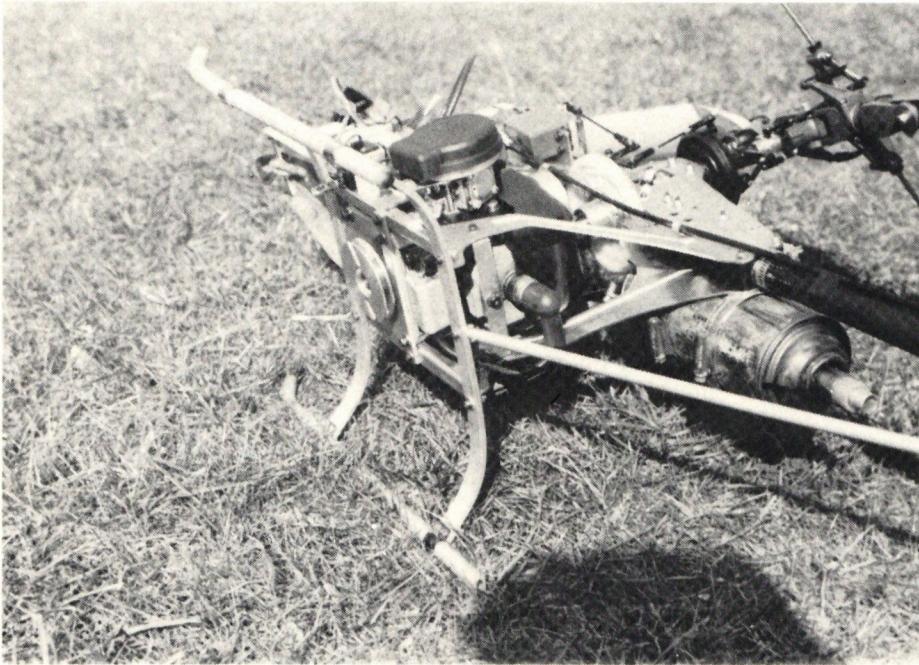
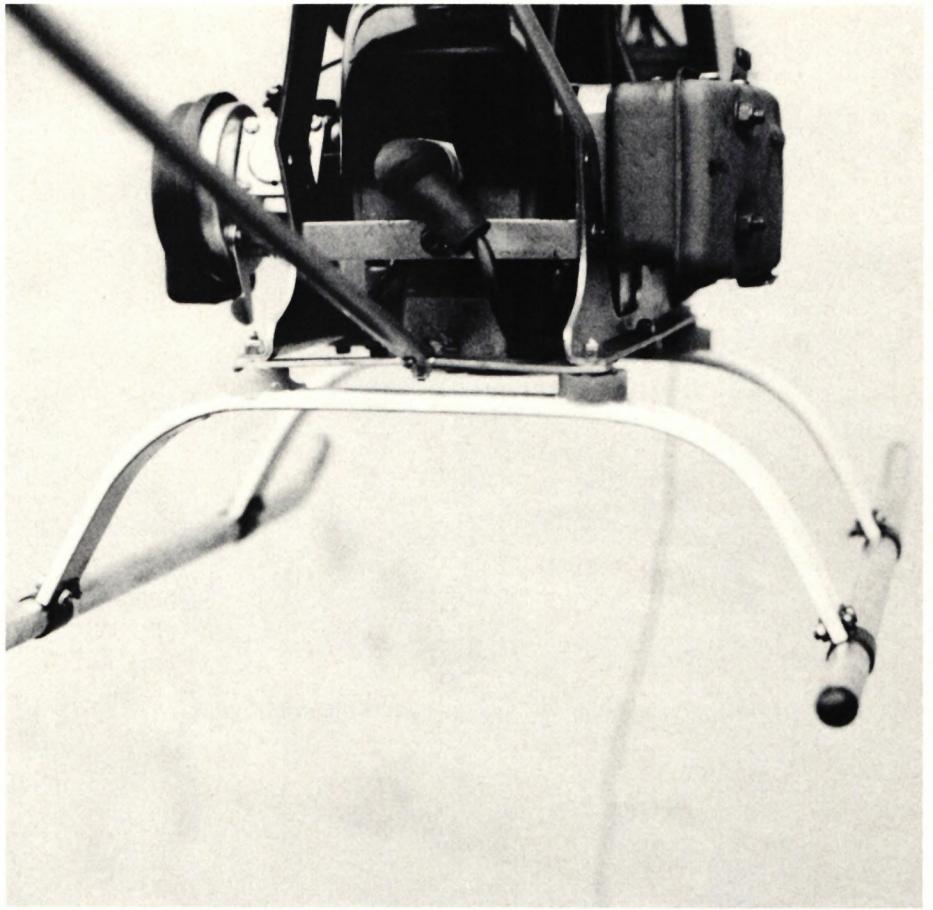
Virtually every helicopter pilot has experienced on more than one occasion that, following a somewhat rough landing, the crossbars—which are normally made of flat aluminum and are used to mount the skids (Fig. 1)—have become bent. You can straighten them out again—but the material has been stressed beyond its yield point, and its strength has been significantly reduced. The crossbars from Kalt, which are formed from semi-hard aluminum tubing and mounted in rubber buffers, are somewhat better in this regard. However, they can barely withstand being bent back into their original shape and then snap in two.
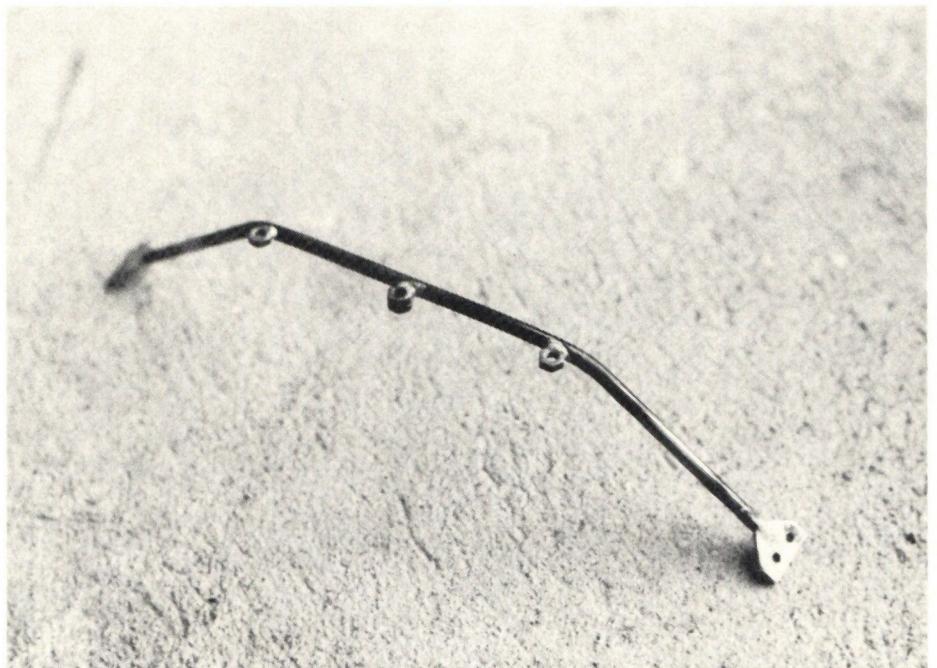
One could now bend the crossbars from 5-mm-diameter spring steel wire and attach corresponding fasteners on the outside for the skids. I’ve done that before, but I was bothered by the legs, which were paper-thin compared to the rest of the helicopter’s structure (Fig. 2). Painting them white visually enhanced the appearance, but I still wasn’t entirely satisfied with the frame. Attaching profiled covers (plastic profiles used to clip together letterheads) can remedy the issue with straight legs (Fig. 3).
I’d like to describe a solution that’s easy to make yourself, offers weight advantages, is very strong, exhibits first-class spring properties without permanent deformation, and is also visually appealing.
In the construction of beams in industrial buildings, laminated, glued
Fig. 1: Standard landing gear with flat aluminum cross members (cross member mass: 120 g)
Fig. 2: Landing gear crossbeams made of 5-mm steel wire (crossbeam mass: 100 g)
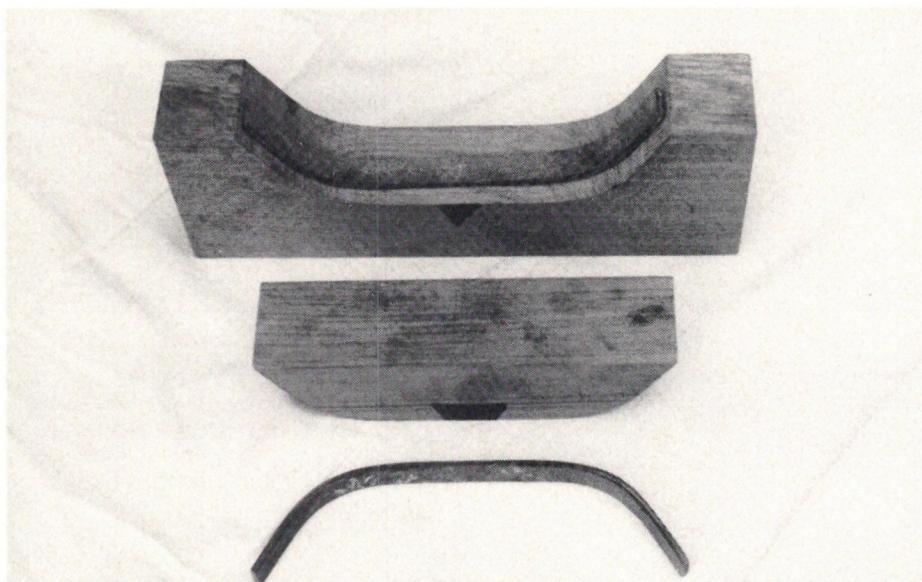
Wooden beams. My solution is based on this principle. As shown in Fig. 4, the crossbeams are made in a wooden mold lined with plastic wrap.
First, cut two strips of the appropriate length and about 20 mm wide from 1 mm thick plywood for each crossbeam. I used lightweight fiberglass mesh for laminating. Fiberglass tape would be better, as it prevents the edges from fraying.
The wooden strips are soaked in hot water for a few minutes and then clamped into the wooden mold to dry. The next day, assembly can begin.
Inside the wooden mold, alternate layers of fiberglass, wood, fiberglass, and wood are laid onto the plastic sheeting, impregnating each layer with epoxy as you go. With two layers of wood and three layers of fiberglass, the crossbeams will be about 4 mm thick after curing.
The mold must be clamped in a vise or with a large clamp to ensure that as little resin as possible remains between the individual layers. The cross members flex significantly under load, and excess resin could lead to cracks.
The inserted plastic film makes the surface very smooth. Only the edges need to be filed smooth and sanded. Next, paint the cross members in the desired color and coat the entire assembly with a two-component varnish to prevent fuel corrosion.
To attach the skid brackets, holes would now need to be drilled. However, this would result in an unacceptable weakening of the cross-section precisely at the point where the greatest bending moment occurs. To avoid this drawback, we use the fantastic adhesive properties of silicone rubber (Coltogum or an equivalent silicone sealant from the Migros DIY section).
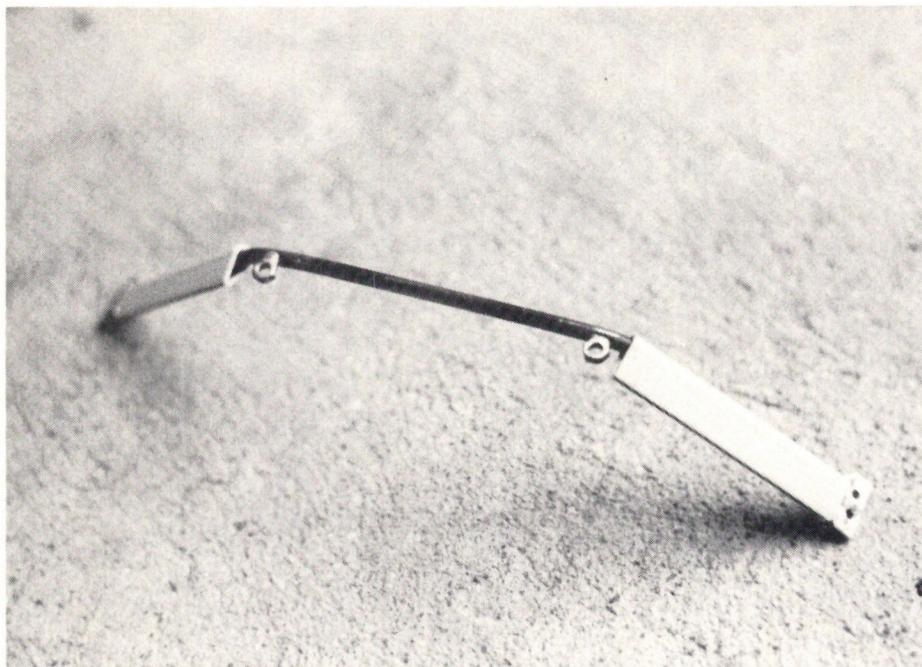
Fig. 4: Wooden mold for manufacturing laminated cross members
If the original landing gear was mounted with four Silent-Blocs, we can now use two of them. We cut the rubber exactly in half, creating four dampers with their threaded bolts pointing upward. On the cross members, in the area of these dampers, the paint is removed down to the epoxy, and then the rubber surface of the cut-in-half Silent-Bloc is pressed onto the cross member with a 1 mm-thick layer of silicone rubber. After allowing ample time for drying (at least two days), the entire landing gear can bear its full load.
If you don’t want to buy the rather expensive Silent-Blocs, you can easily make them yourself for this application. You’ll need four M3 cylinder head screws about 30 mm long, 4 M3 and M4 nuts, and large washers with a 3-mm hole. You can also drill through pieces of sheet metal for this purpose. As shown in Fig. 2, solder the nuts and washers together so that the screw head protrudes about 2 mm from the nut.
Now cut four rings, each 10–12 mm long, from a silicone exhaust hose. The outer diameter of the hose should be approximately the same as the diameter of the washer. With that, all the components of the silencer are ready, and we can move on to assembly. Everything is shown in Fig. 2. Here are a few notes for clarification.
Place the four silicone tube rings on a greased sheet of plastic wrap and fill them to the brim with silicone rubber from the tube. It comes in white, black, gray, and clear, depending on which color best matches the chosen skate color or model.
Now place the four washers with the screw shanks pointing upward onto the filled tube rings, and our silent blocks are ready. We should wait at least three days for the silicone rubber to cure before tightening the screws! But then we’ll be amazed at how firmly this silicone rubber grips the screw heads. Attaching them to the cross members is then done exactly as described above for the store-bought silent blocks.
For Schlüter models with only one central mounting screw, for example, you’ll glue a flat piece of brass about 100 mm long—with a 5 mm layer of silicone rubber—to the center of the cross members. An M3 screw (or preferably M4) screwed into the brass from below then connects the landing gear to the aluminum structure. From the brass crossbar, one strut on each side (right and left) can be soldered at a 45° angle and run up toward the side plates to compensate for the lack of stability caused by the small contact surface.
I wish you every success with the new landing gear and would like to mention once again that I’m happy to share my experience on any questions regarding model helicopters. Just give me a call—often, a conversation can quickly clarify seemingly difficult questions.
Ernst Bernet
Weidstrasse 4a, 6300 Zug
Tel. 042 / 21 26 87


News from HEBU

TEAM MANAGER "THIS" BOSSHARD
 Rodito Nussbaumer

SUMMER FUN 2026 AT MG USTER
Martin Wunderli
BY YOUTH, FOR YOUTH
Lorena Betschen
SMALL, MODEL-LIKE SAILBOATS
Res Dauwalder
TRY-OUT DAY AT MFV WETTINGEN
Urs Keller
What's New at Leomotion.com

52. 2026 ALPS CUP
 Emil Giezendanner

ATOM, THE NEW DOUBLE-DECKER FROM CPLR
 Matthias Bosshard

INSIGHTS INTO THE HISTORY OF SEAPLANES

YOU KNOW WHAT I MEAN? 125 YEARS OF THE SWISS AERO CLUB
Emil Giezendanner
34th HAHNENMOOS ALPINE MODEL AIRPLANE CAMP
Res Dauwalder
CORSAIR F4U – A WARBIRD WITH A MEMORABLE LOOK
Jürgen Rosenberger, Jürgen Prinz
F3A EUROPEAN CHAMPIONSHIPS IN ST-MACAIRE, FRANCE
Matthias Bosshard
HORIZON HOBBY/LEMACO NEWS: MICRO OV-10 BRONCO 645 MM BY E-FLITE

PRIDE AND GOOD IDEAS
 Markus Nussbaumer

EURO CONTEST GLIDER ACRO TOUR AUSTRIA 2026

FREE FLIGHT IN THE MIDDLE OF SUMMER
Urs Muntwyler
THE PC-21 STORY
Emil Giezendanner
TWIN TOWN PARTNERSHIP
Wolfgang Voeller
WELCOME, NEW MEMBER!
Andrea Bolliger
COUPE DES ALPES – OBSERVE AND LEARN
Rodito Nussbaumer
NEWS FROM HEBU
 Julia Bucher

FROM 0 TO 100
Markus Nussbaumer
MEMORIES
Wolfgang Völler
NOS REGION – A HUB FOR ELECTRIC AVIATION
Emil Giezendanner
Have you almost forgotten about aircraft that take off and land vertically?
Emil Giezendanner
70 YEARS OF THE NIDWALDEN MODEL AIRPLANE CLUB
Martin Barmettler