
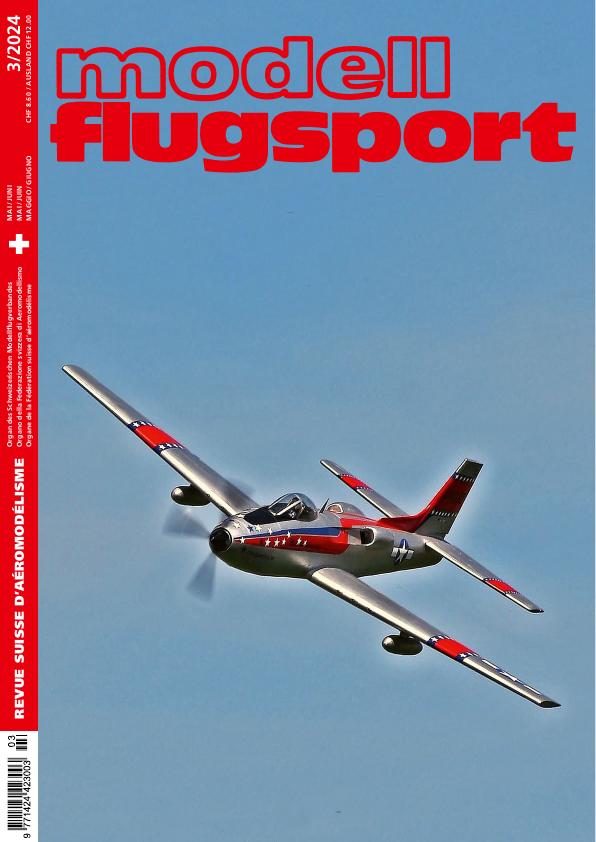
Vultee XP-81: “Neither Fish Nor Bird” / Vultee XP-81: ni poisson, ni oiseau
What should you do if, after a somewhat unfortunate flight, you're left with an intact impeller and also have a larger electric motor on hand?
I remember a project I'd always had in mind: the Consolidated-Vultee XP-81, or Convair XP-81.
I thought about building a model of it, and decided on a scale of about 1:7 relative to the original.
It was clear from the start that the focus would be on the drive system, not on every last screw, rivet, or anything like that.
In 1943, the U.S. issued a request for proposals for an escort fighter for the B-29. The requirements called for high speed and high service ceiling. This was to be achieved by using a turboprop engine in the front and a jet engine in the rear. The Consolidated-Vultee Aircraft Corporation won the contract.
During the maiden flight in February 1945, an RR Merlin engine in the front still provided propulsion.
By December 1945, however, the TG-100 engine was available, and further flight testing was conducted using it. The project failed to impress and was therefore discontinued in 1947.
DevWing and DevFuse have always served me well, so I used them again to design the model. But now to the most important part of the entire project—the motorization. I had a Joker 6365 with 280 kV, a slightly oversized Turnigy with 190 kV, and a JetFan 90-mm impeller at my disposal. The Turnigy was ruled out because of its weight; it wouldn’t have fit with the long nose of the SP. Another factor also came into play—it absolutely had to be a 4-blade propeller. After discussing it with a colleague from the forum, it became clear that the Joker motor could drive a Ramos 4-blade variable-pitch propeller measuring 17.9×14 inches.
It could do this on 6s at about 90 A. That’s a bit on the edge, but you don’t fly at full throttle all the time anyway. The impeller also runs on 6s.
In hindsight, this power setup turned out to be the perfect choice for the model, and the mix of propeller and impeller noise is very similar to that of a turboprop.
When building the fuselage, I always start by tracing out the individual frames and manually adding feet to them. DevFuse plots the XY coordinates for this.
Then the paper is glued to the wood and cut out. I mark the spacing of the frames on a board, then screw the frame supports—made of 2×2-cm strips—onto the board. After that, I secure the frames with small clamps.
The board also has the advantage of offering flexibility. This way, the fuselage can even be placed next to the heater in the living room to dry.
I can then set the finished fuselage frame on the board aside for the time being.
It was time to build the wings, side surfaces, and elevator. DevWing includes small tabs for the ribs. So, it’s back to gluing, sawing, sawing…
The elevator was designed to be removable, and the wings were also split into sections. →
An Electron 40 retractable landing gear with an 85° extension angle at the wings was installed. The nose landing gear had a 90° extension angle.
The wings were equipped with landing flaps, and the ailerons were mounted in recesses.
The impeller at the rear of the fuselage is accessible through a cover. Air enters through the two intakes at the top of the fuselage and through the opening in the nose landing gear.
Once everything was finished, the wooden surface was filled, sanded, treated with a pore filler, covered with canvas, and coated three times with varnish.
Then a canopy was fitted, the cockpit was given a bit of a makeover, and a spinner for the propeller was sought out. Of course, there was nothing ready-made available, so the recesses for the four blades were cut out of a suitable spinner. The diameter of the front of the engine cowling also had to be adjusted.
From that perspective, the model was finally ready for its maiden flight.
The flight itself was rather unspectacular; only a slightly misadjusted flap caused a bit of a left pull. →
Next step—the paint job. The two originals had a silver or aluminum finish.
I was worried that painting it silver might not make the surface look as nice as I’d hoped, so I decided to add some extra color.
I based this on the early P-80s and F-86s. First, though, the model’s surface needed a bit of work.
So I had various panel lines, rivets, and covers plotted at a plotter studio, which were then transferred to the model using transfer foil and rubbed on. If the surface is nice and smooth, this works quite well.
After that, I bought a few cans of silver wheel rim spray paint, and got to work! I also added some red and blue, white and blue stars, national insignia, and lettering. Now there it stands, the finished XP-81.
It was well worth the effort—a model that flies smoothly and is quite unique, turning heads wherever it goes.
| Scale: | approx. 1:7 |
| Wingspan: | 223 cm |
| Length: | 193 cm |
| Weight: | approx. 11 kg, not yet weighed exactly. |
| Power system: | Joker 6360 V3 with 280 kV on 6s 5500 Red Power |
| Propeller: | Ramoser variable-pitch propeller, 4 blades, 17.9×14 inches |
| Impeller: | Jetfan 90 with HET 700 68 1900 kV motor? On 6s 5500 Red Power |
News from HEBU
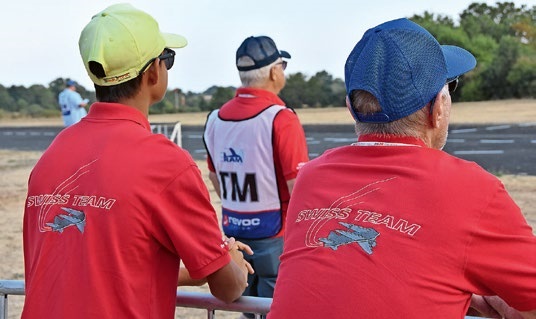
TEAM MANAGER "THIS" BOSSHARD
 Rodito Nussbaumer

YOU KNOW WHAT I MEAN? 125 YEARS OF THE SWISS AERO CLUB
 Emil Giezendanner
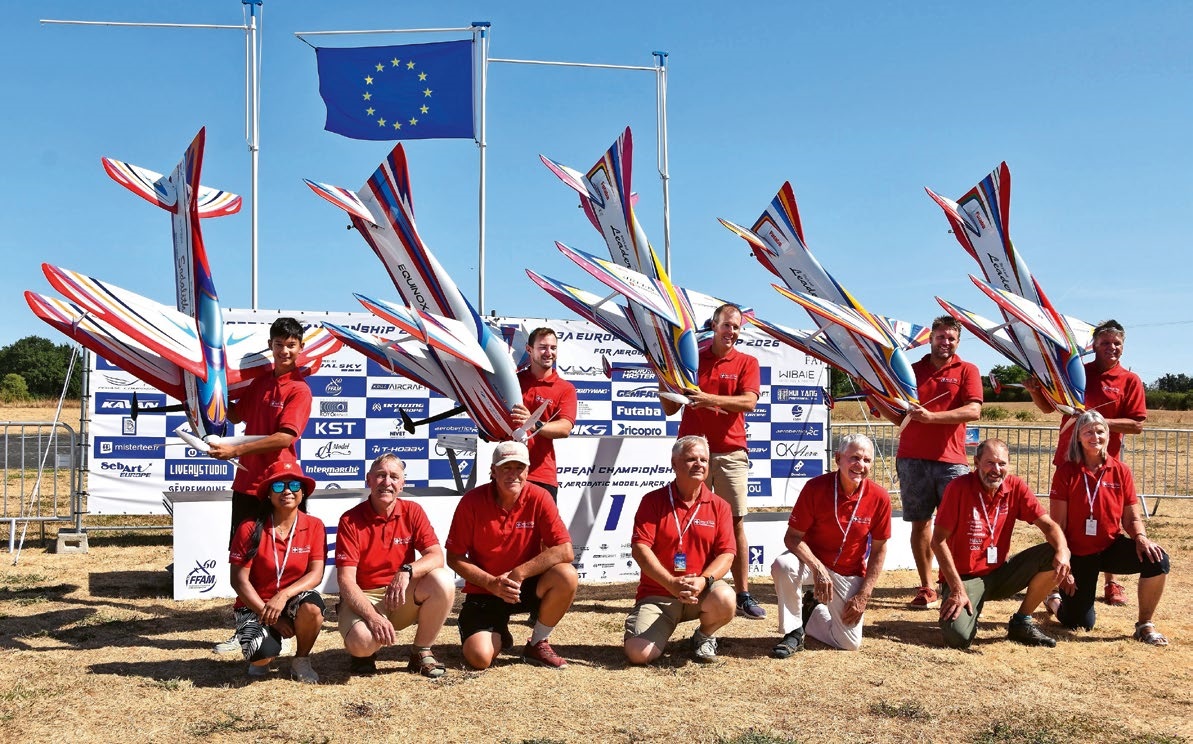
F3A EUROPEAN CHAMPIONSHIPS IN ST-MACAIRE, FRANCE
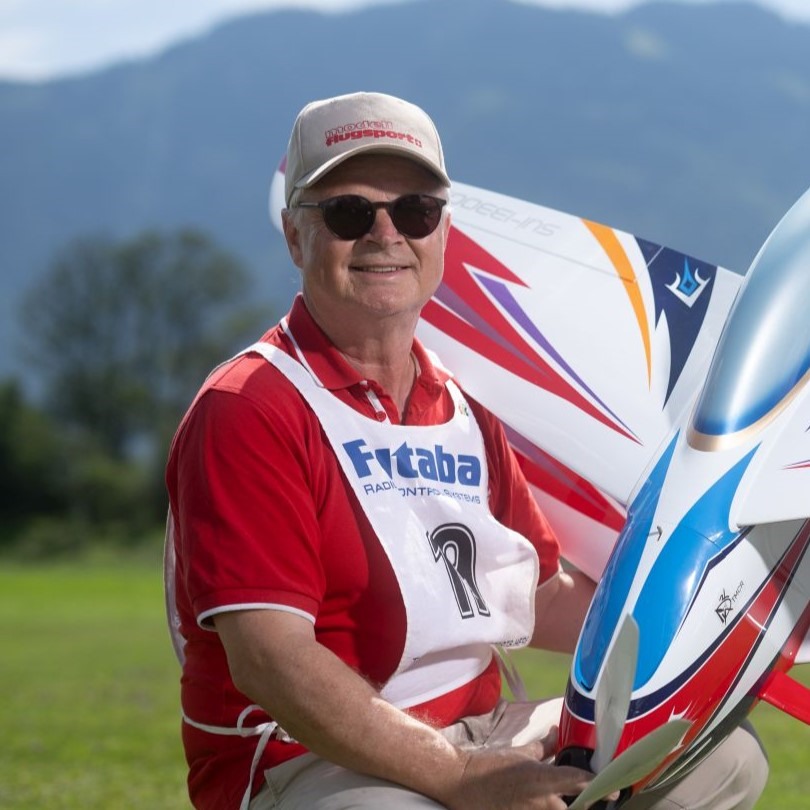 Matthias Bosshard
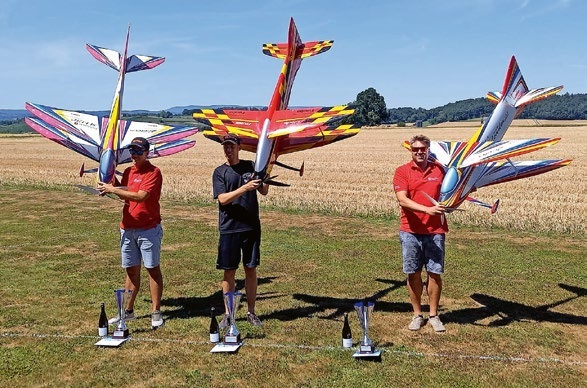
52. 2026 ALPS CUP
Emil Giezendanner
PRIDE AND GOOD IDEAS
 Markus Nussbaumer
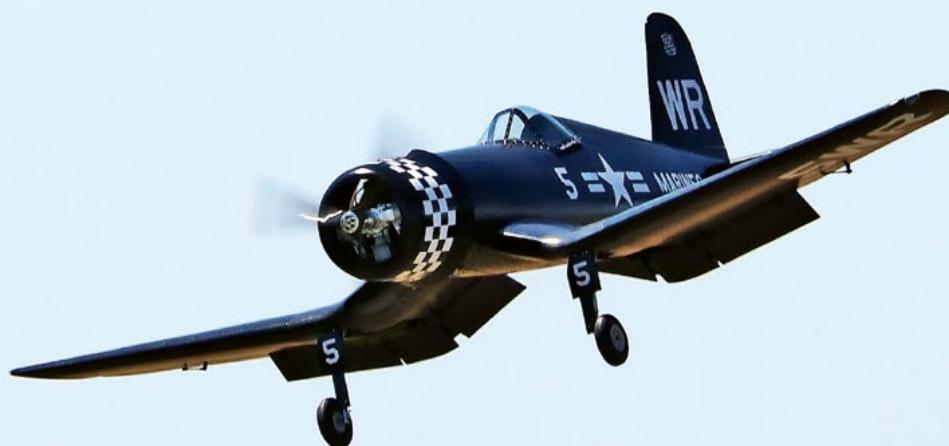
CORSAIR F4U – A WARBIRD WITH A MEMORABLE LOOK
Jürgen Rosenberger, Jürgen Prinz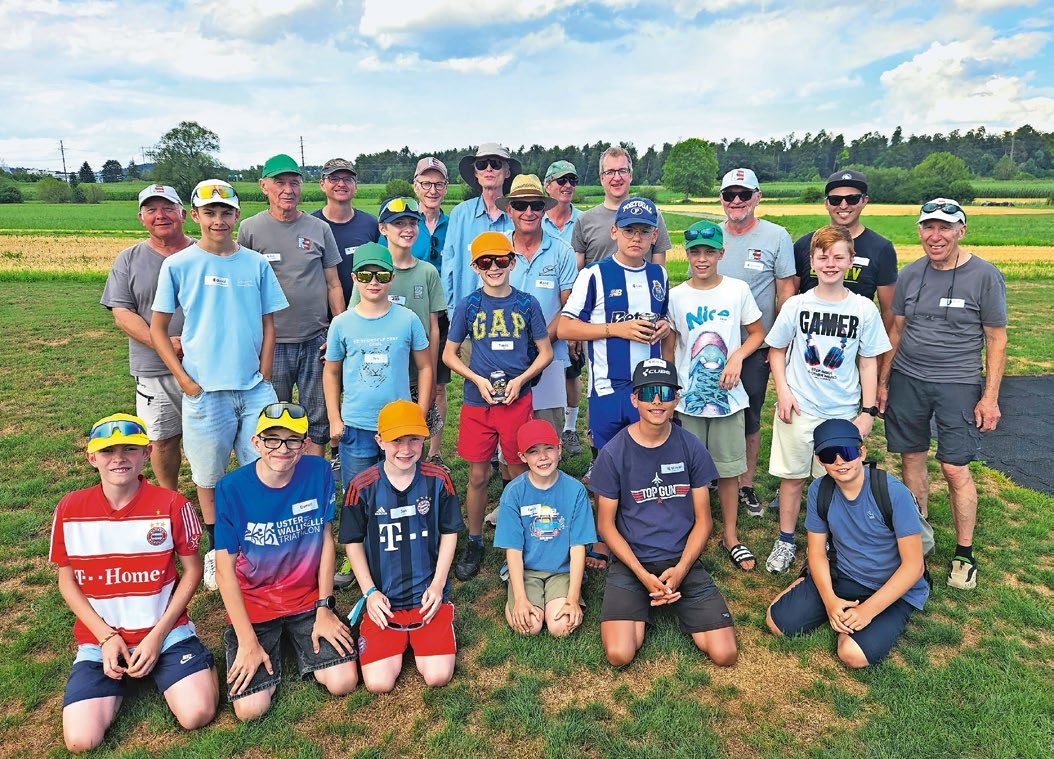
SUMMER FUN 2026 AT MG USTER
Martin Wunderli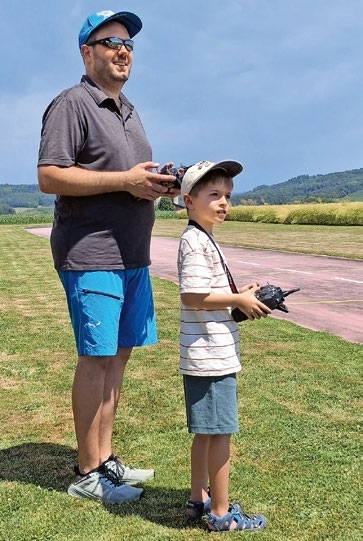
TRY-OUT DAY AT MFV WETTINGEN
Urs Keller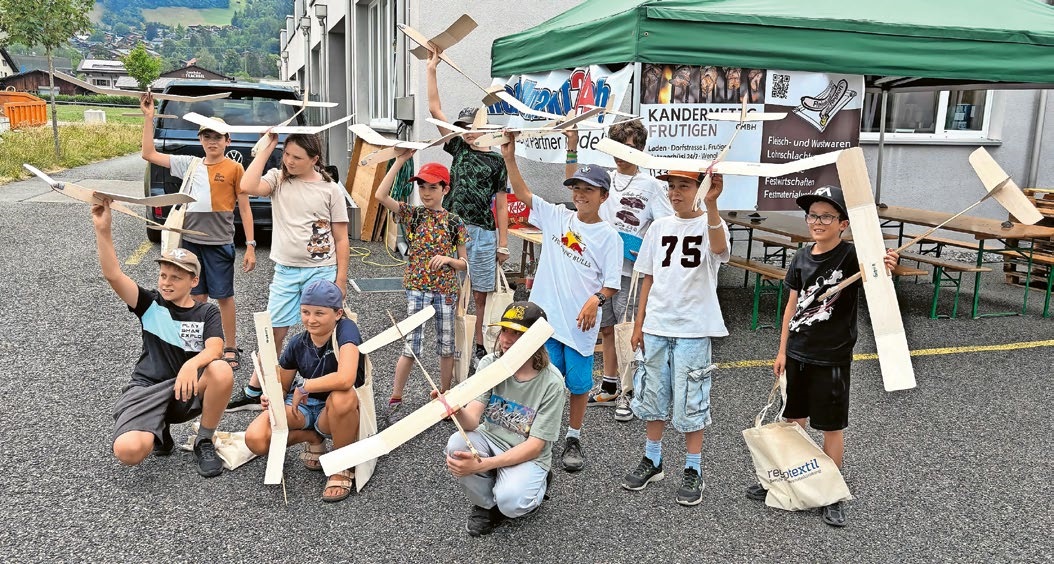
BY YOUTH, FOR YOUTH
Lorena Betschen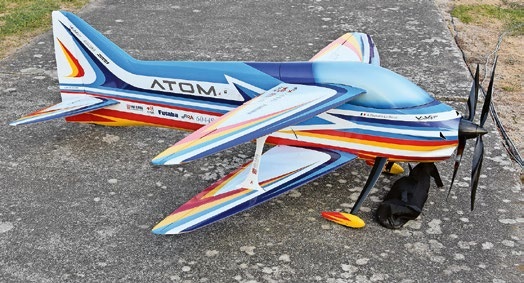
ATOM, THE NEW DOUBLE-DECKER FROM CPLR
Matthias Bosshard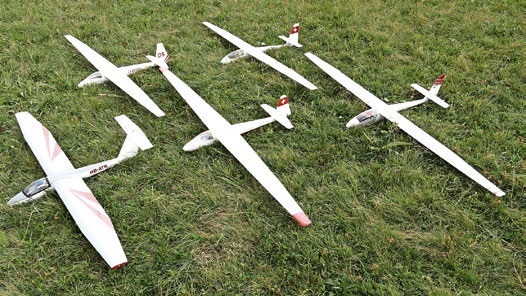
SMALL, MODEL-LIKE SAILBOATS
Res Dauwalder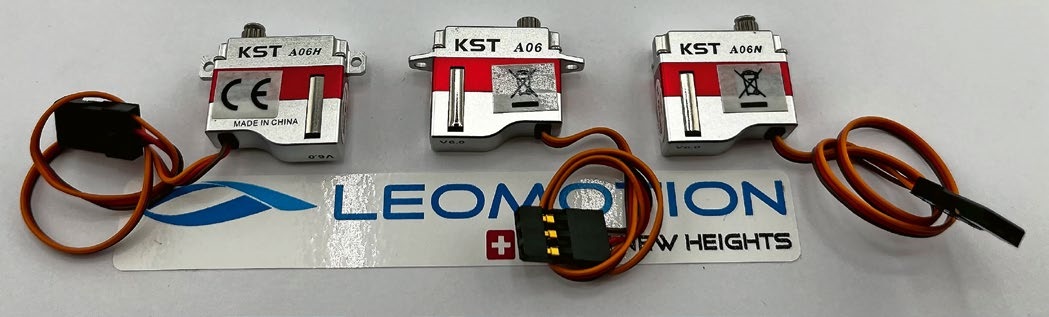
What's New at Leomotion.com
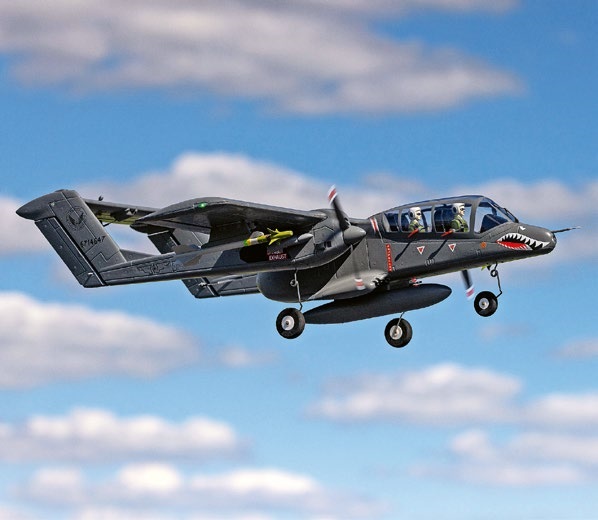
HORIZON HOBBY/LEMACO NEWS: MICRO OV-10 BRONCO 645 MM BY E-FLITE
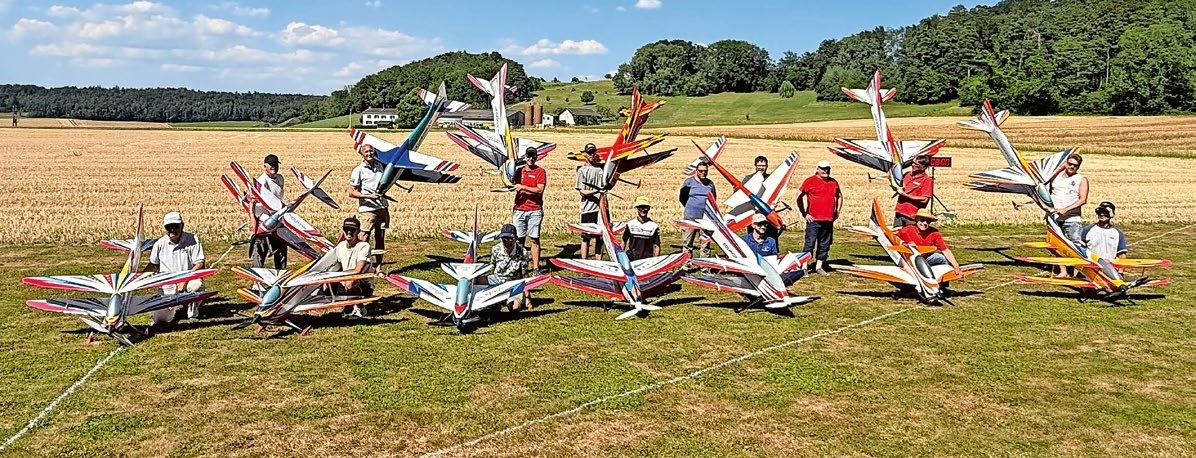
COUPE DES ALPES – OBSERVE AND LEARN
Rodito Nussbaumer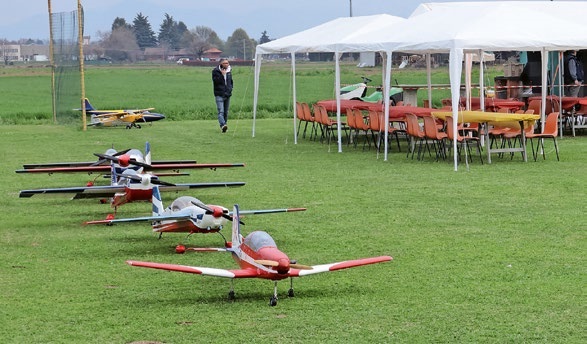
TWIN TOWN PARTNERSHIP
Wolfgang Voeller
EURO CONTEST GLIDER ACRO TOUR AUSTRIA 2026
INSIGHTS INTO THE HISTORY OF SEAPLANES
34th HAHNENMOOS ALPINE MODEL AIRPLANE CAMP
Res Dauwalder
WELCOME, NEW MEMBER!
Andrea Bolliger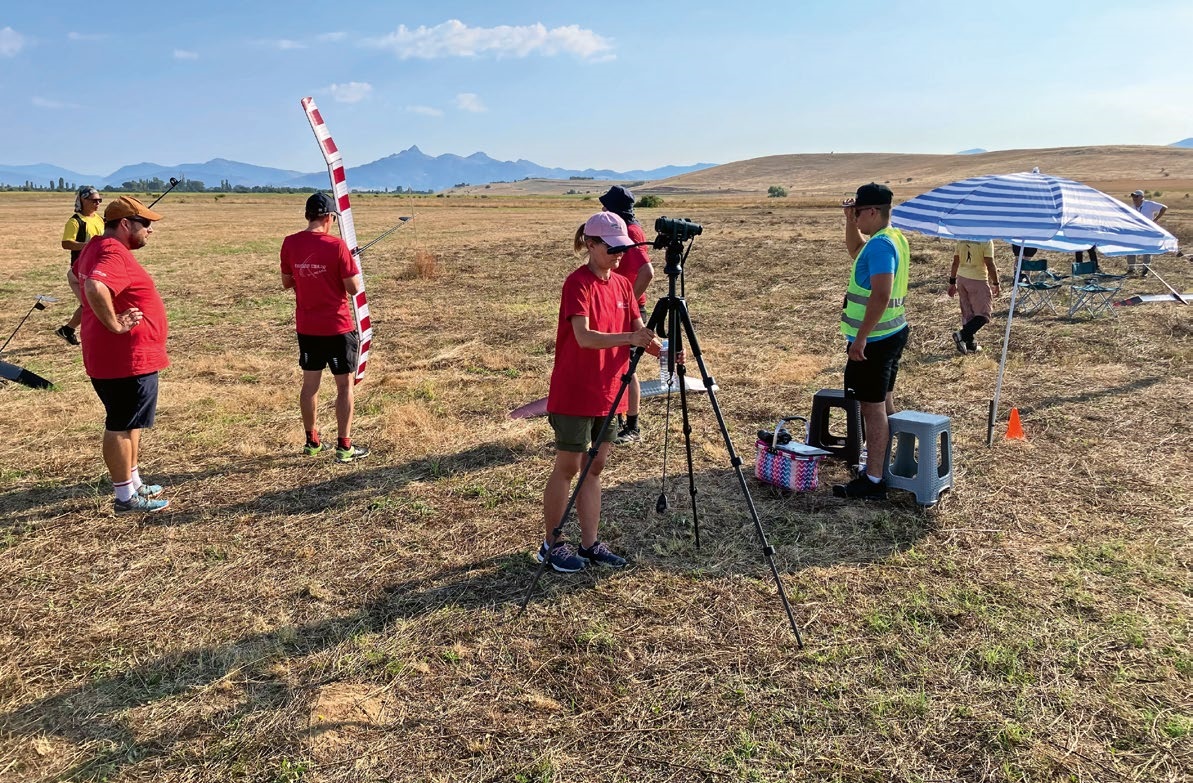
FREE FLIGHT IN THE MIDDLE OF SUMMER
Urs Muntwyler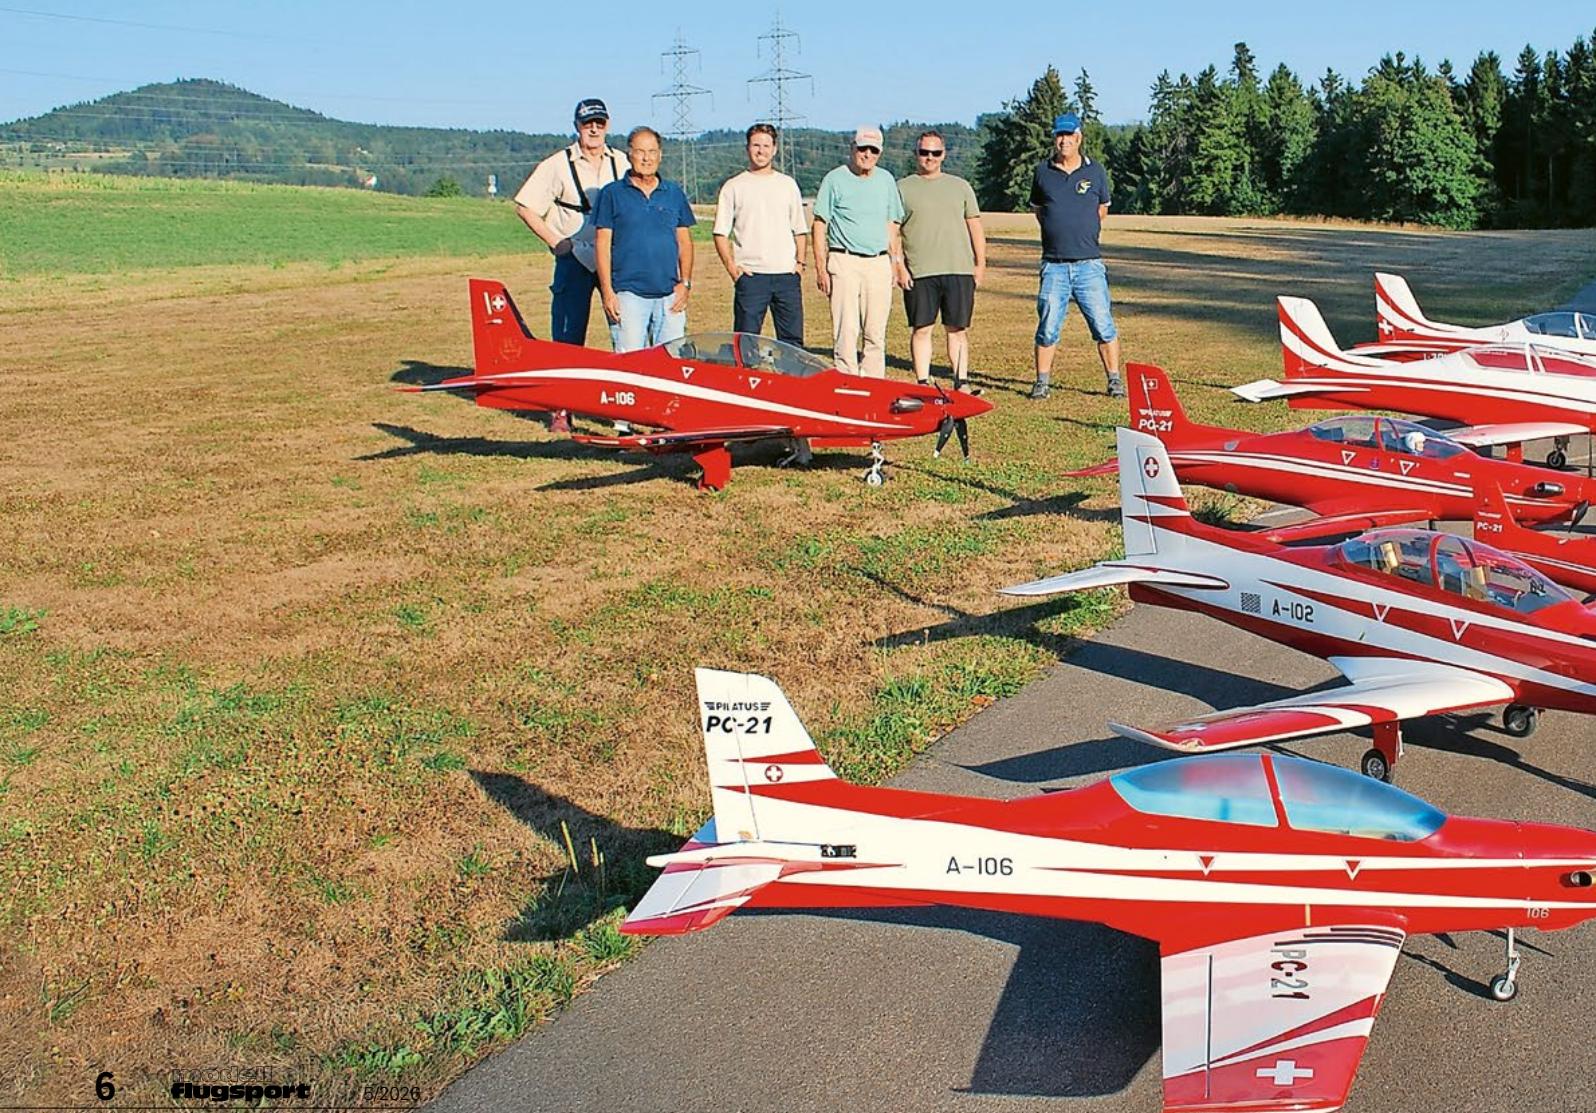
THE PC-21 STORY
Emil Giezendanner
NEWS FROM HEBU
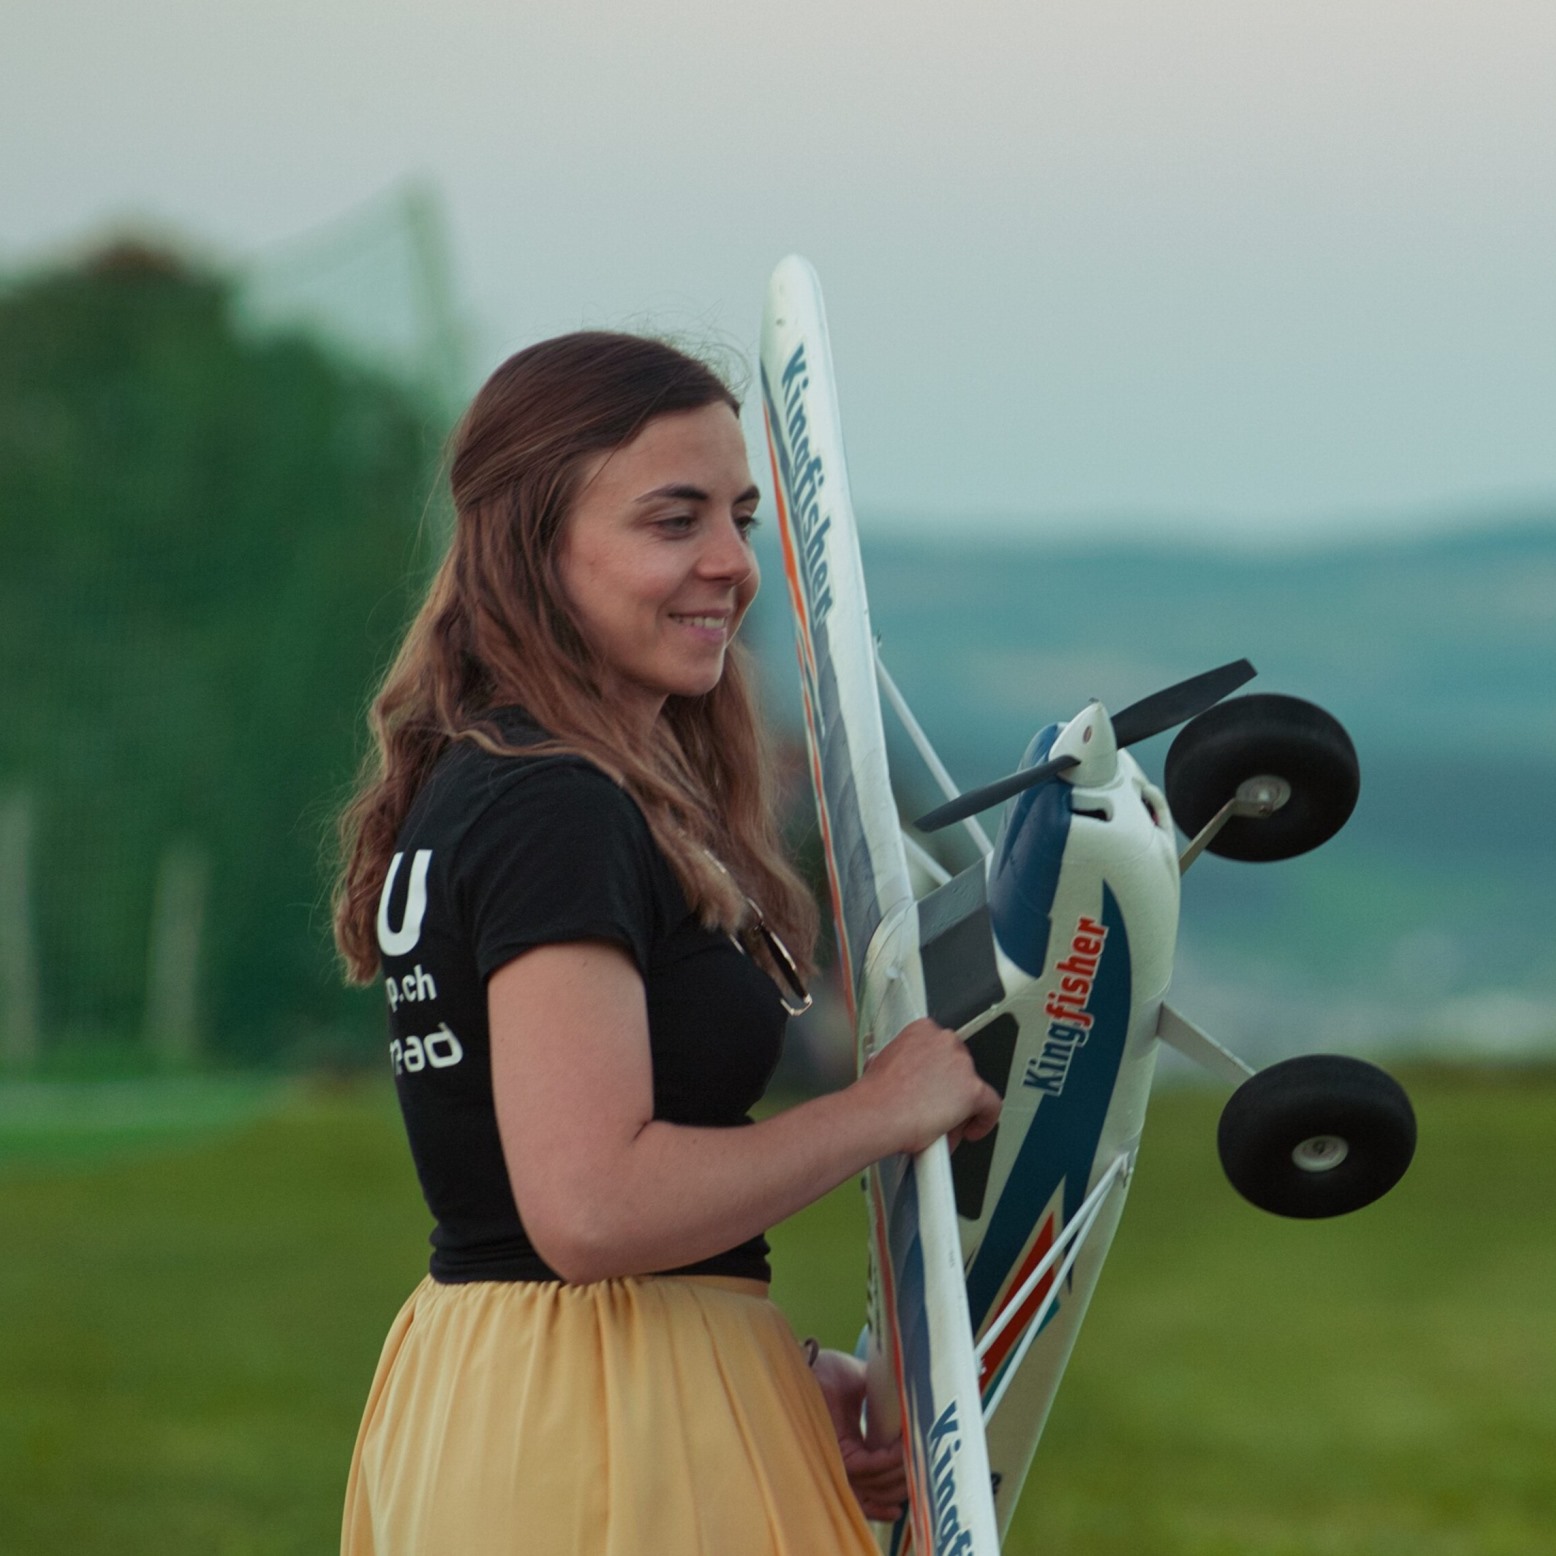 Julia Bucher
FROM 0 TO 100
Markus Nussbaumer
MEMORIES
Wolfgang Völler
NOS REGION – A HUB FOR ELECTRIC AVIATION
Emil Giezendanner
Have you almost forgotten about aircraft that take off and land vertically?
Emil Giezendanner
DO YOU KNOW WHAT I MEAN IN THE LAND OF SMILES?
Emil Giezendanner